White Fuzz on Succulent? It May Be Mealybugs, Not Mold
White fuzz on a succulent is almost always mealybugs, not mold. The cottony material is wax the insects produce around themselves, and it collects where a wipe cannot reach: pressed into leaf joints, tucked along the stem under the lowest leaves, in the crease where an offset meets the mother plant. If that same pot feels tacky, or there is a thin amber sheen on the saucer, the diagnosis is settled. Isolate the plant today, inspect every pot within a few inches of it, and treat the insects rather than the fuzz, because the fuzz is a symptom and it grows back.
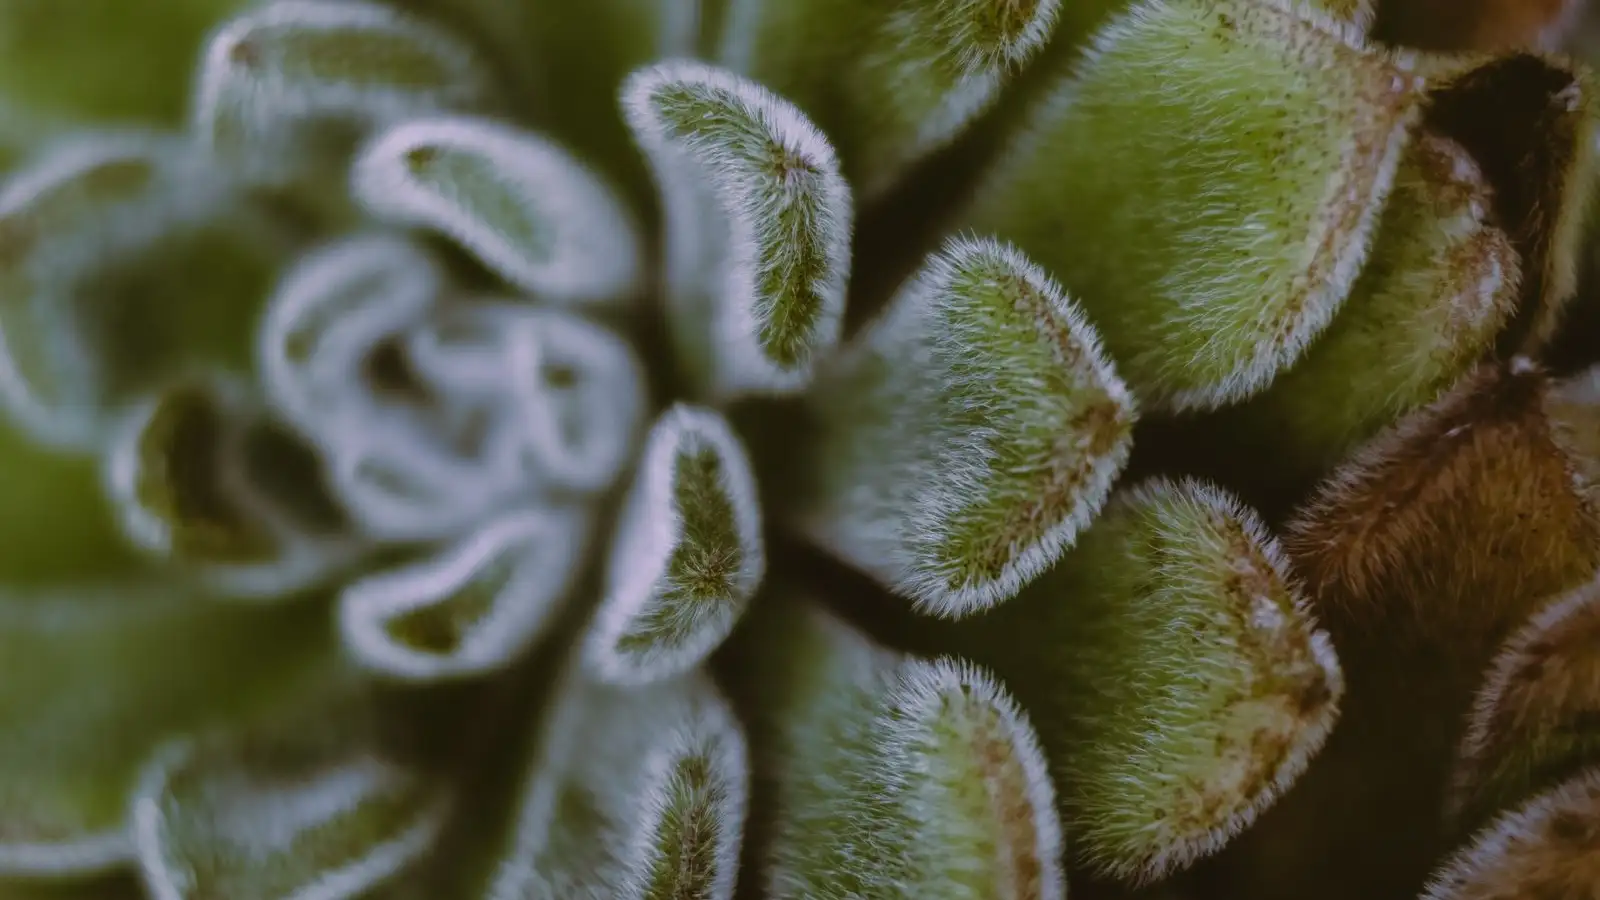
The light you need before you decide anything
I keep a headlamp on the shelf next to my pots, which sounds like overkill until you have tried to see into the crown of an echeveria with the ceiling light behind you. Set the pot on the counter and hold a light low and to the side, raking across the surface. Mealybugs throw tiny shadows that way. Straight down, they disappear into the farina and the leaf color.
Then touch it. Real mealybugs do not behave like dust. Blow on them and they stay put. Brush a dry toothpick across a cluster and the cluster moves as a body, slightly tacky, slightly greasy, and if you press one flat against a white saucer it leaves a wet orange-brown mark. Mold does not do that. Mold is threadlike, lifts on a dry tissue, smells like a damp basement, and it lives on the soil surface or on tissue that is already dead and collapsing, not on healthy green leaves in the tightest crevices the plant has.
There is a third thing people mistake for an infestation: the powdery bloom some succulents grow on purpose. If the white stuff is evenly distributed across the whole leaf face and does not move when you touch it, leave it alone. Rub it and you take the coating off permanently, leaving a shiny scar that never fades. I have done this. It looks worse than the bug would have.
Scale does not look like anything until you use a fingernail
Scale does not announce itself with cotton. It shows up as small brown, tan, or chalky white bumps stuck along stems and on the undersides of leaves, often lined up along a vein like someone glued sesame seeds there. Run a fingernail along the stem. A live scale insect pops off as a shell with a wet underside. If it smears instead, it is something else.
Both pests excrete honeydew, so the sticky film and the ants are the shared clue. If you find ants marching up a pot, follow them, because they farm mealybugs and carry them from plant to plant.
Quarantine comes before cleaning
Move the pot before you touch the bugs. Cleaning knocks crawlers loose, and crawlers walk. A different shelf in the same room is not quarantine if that shelf sits above other pots, because they drop. Mine go to a bathroom windowsill or a closed room, on a tray, and I check the pots that were immediately around the infested one, plus the rims and the drainage holes. That is where they hide when you are busy staring at the top of the plant. Check the underside of the saucer too. Honeydew drips.
Removing them by hand
For a light infestation, this is the whole treatment. Cotton swab, 70% isopropyl alcohol from the drugstore, and a dabbing motion rather than a swipe. Touch the swab to the insect, hold it there for a second, lift it away. Dragging the swab across a leaf pushes honeydew into the crown and floods tissue that does not want to be wet. Alcohol on a mealybug turns it brown and it comes away on the cotton. Keep a dry swab ready to pick up what the wet one loosens.
Work the crevices with a toothpick. The ones you cannot reach with a swab are the ones that restart the population, and that low raking light is the only reason I ever find them.
Alcohol is a contact killer. It does nothing to the eggs, and it evaporates without leaving anything behind to catch the crawlers that hatch next week. That is why the follow-up is not optional.
When to spray, and when spraying makes it worse
Insecticidal soap or neem oil at the label rate is the next step for an infestation that has spread past a few clusters, or one that keeps coming back. Two things I do first, every time.
Test on one small area and wait a day. The back of a lower leaf is a good spot. Some succulents mark up badly, and thin-leaved types and anything with heavy bloom are the usual suspects.
Then keep the treated plant out of direct sun. Oil plus sun on a leaf is a burn, and a burned leaf on a plant already fighting an infestation is one more thing it has to pay for. I spray in the evening, into still air, and I tilt the pot so nothing pools in the crown of a rosette. Standing water in the center of an echeveria is how you trade mealybugs for rot.
One more: do not spray a plant that is badly drought-stressed. If the leaves are wrinkled and the soil is bone dry, water it and give it a couple of days first. A shriveled plant handles an oil application worse than a hydrated one.
The ones living in the soil
Root mealybugs may never show up on the leaves at all, or they show up late, as a plant that keeps shrinking and will not plump up no matter how you water. Unpot it and you will see white waxy material packed against the inside of the pot, around the drainage hole, and clinging to the roots. In dry mix it looks a lot like small perlite. The difference is in your fingers. Perlite crunches. This smears.
If it is confirmed, knock the old mix off, rinse the roots under lukewarm water, and work them with your fingers or a soft brush. Cut away anything brown and mushy, because that is rot riding along with the damage, a separate problem with a separate fix. Repot into fresh dry mix, wash the pot before it gets reused, and throw the old soil in the trash rather than the compost. Hold off watering for a few days so any root breaks can callus over.
The repeat is the part everyone skips
No single application ends this. Eggs survive. Crawlers wedge into the tightest joints. Scale nymphs look like pale dust and are easy to walk right past. The product label gives a repeat interval, and that number is the one to follow, not mine. Between applications, go back in with the light and the swabs and pull anything new, because the point of the spray is to knock the population down far enough that hand removal can finish the job.
Expect three or four weeks before you stop finding new clusters. When the last bump dies, it stays glued to the plant for a while, so do not panic. Scrape it. If it comes off as a dry flake and the tissue underneath is green and firm, it was already dead and the plant is fine.
One habit that ends most of these early
Anything new sits on a separate shelf for two weeks before it joins the group, and I check under the pot rim whenever I water. That is the whole system. Most of the infestations I have dealt with started with a plant I bought and set down next to the others the same afternoon.
Educational content only: check with a qualified horticulturist, licensed pesticide applicator, or your local extension office before acting on anything specific.