Hidden Root Damage Fungus Gnat Larvae Cause in Succulents
Fungus gnat larvae are the hidden root feeders behind a lot of succulent decline that gets blamed on rot: clear to white, legless, roughly a quarter inch long, with a shiny black head capsule, working the top one to two inches of damp soil and chewing at root tips and root hairs. The plant above the soil usually tells you they are there before you ever see one. Lower leaves yellow and go soft. The plant wilts while the soil is still damp. New growth stalls for weeks. The quickest confirmation is a soil drench: pour water through the pot, watch the surface, and count what floats up.
I found mine chasing something else.
The inch of the pot nobody looks at
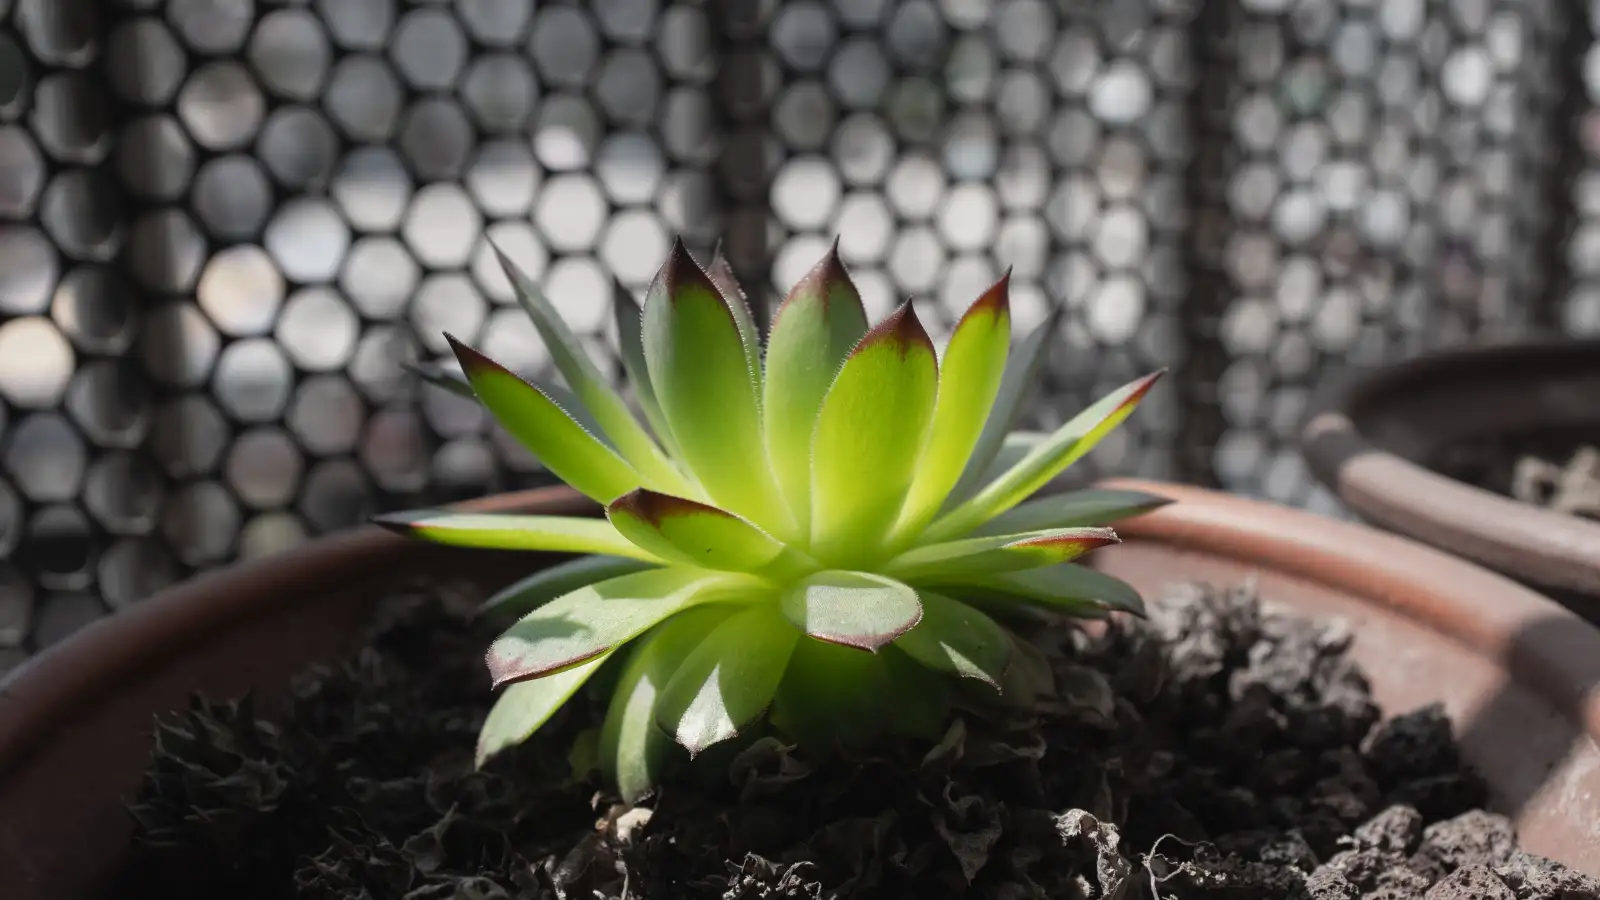
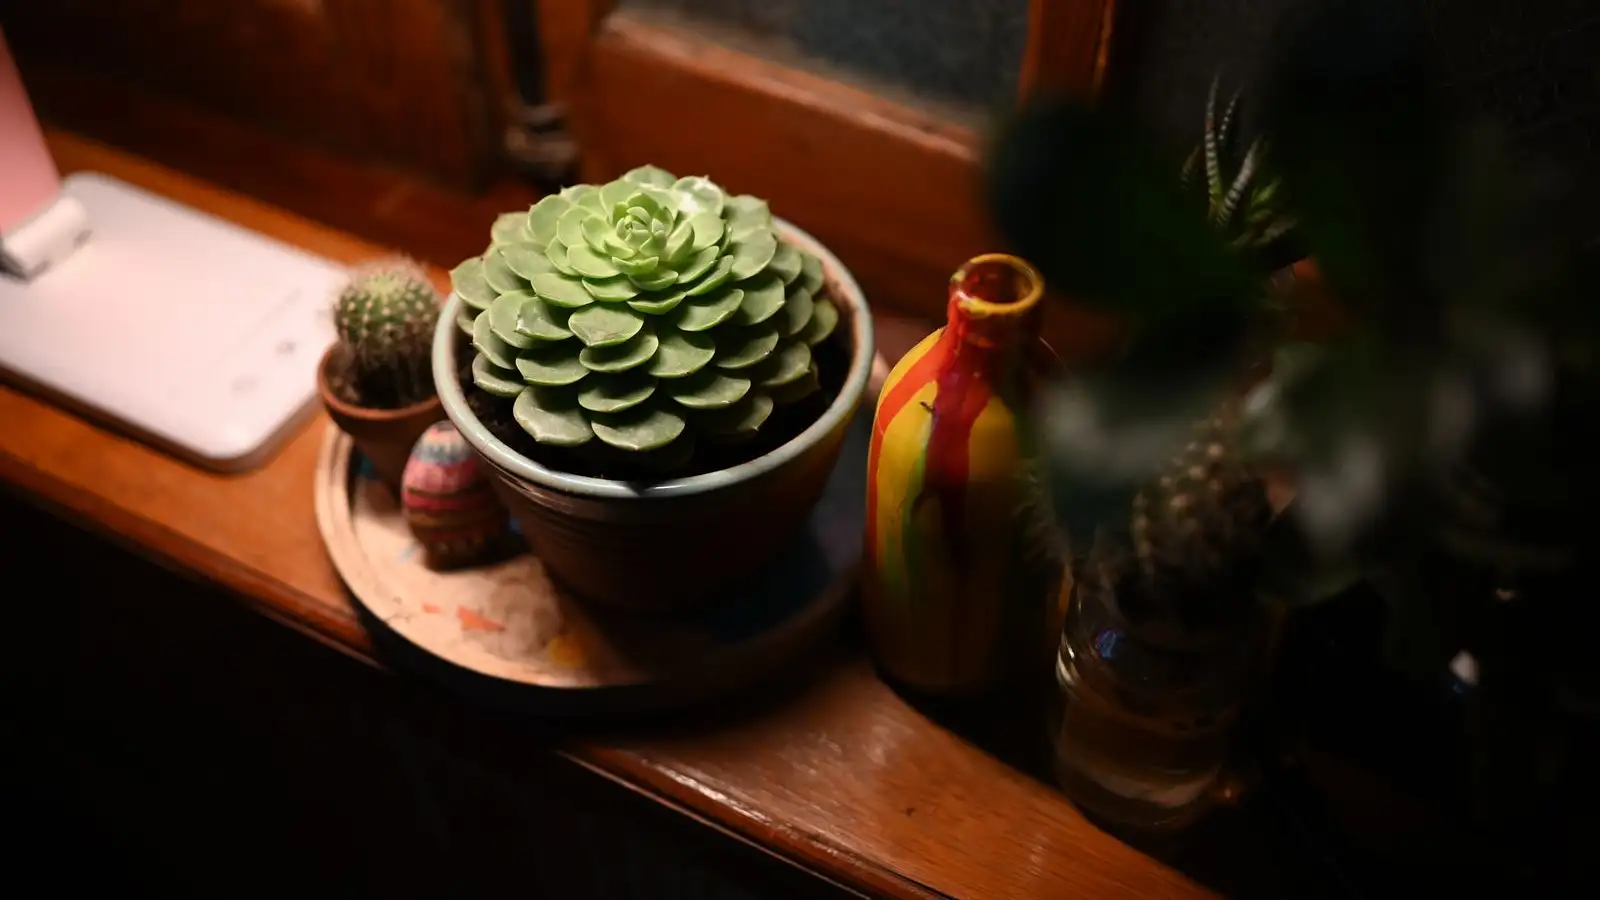
I had a four-inch echeveria on the kitchen windowsill that had been sulking since spring. Not dying, exactly. Just sitting there, lower leaves going translucent one at a time, the way they do when you have been underwatering. Except I had not been underwatering. I had been watering on schedule and the soil was still damp two days later, which should have been my first clue.
The sticky traps came first. I cut the yellow cards into quarters and pushed them into the pot, and within a week each one had a scatter of tiny black gnats glued to it. That is the adult stage. Adults on a trap mean somebody laid eggs in that soil a couple of weeks ago, because the whole cycle runs fast in a warm room. It is not proof of larvae. It is a hint loud enough to go look.
So I took a chopstick and turned over the top inch.
If you have never seen them, here is what separates a fungus gnat larva from everything else in a wet pot. It is glassy-clear toward the tail and milky toward the front, with a hard, shiny black head capsule that makes it look like it is wearing a tiny helmet. Legless, but it moves with a slow wet wriggle, heavy and deliberate. Springtails flick and launch themselves. Soil mites look like dust that learned to walk. These things are big enough to see the head on with your bare eyes, and once you have spotted one, you will spot them everywhere.
They live in the top one to two inches, in the damp zone right under the surface, feeding on root hairs and the tender growing tips of roots. That location matters more than anything else about them, and I will come back to why.
The drench test, and what it costs you
The float test is the fastest way to confirm. Pick a day you were going to water anyway. Take the pot to the sink, use room-temperature water, and pour slowly across the whole surface until it starts running out the bottom. Then stop and just watch for two or three minutes. Larvae get flooded out of the air pockets and rise. If nothing comes up, stir the top half inch with a chopstick, working gently around the crown, and watch again.
A raw potato slice laid flesh-down on the soil overnight is the other trick I keep in rotation. Larvae move toward it, and in the morning you flip it over and count. Less mess, more waiting.
Two honest caveats. A clean drench does not mean zero larvae. If the pot is large or the mix is stratified, some of them are sitting lower than your water is reaching, and a pot you just watered is a pot they are not eager to leave. And the test itself has a cost: you have now soaked the exact layer they breed in. Do the test, get your answer, and then let that top inch go dry. Do not test, shrug, and water again on Sunday.
What the plant looks like while this is happening
The above-ground symptoms of larval root damage are maddeningly generic, and that is the whole problem. Yellowing on the lower leaves first, because those are fed by the oldest root tissue. Wilting that does not respond to water, even though the soil is damp to the touch. Growth that stops dead and stays stopped. Sometimes the whole plant feels loose in the pot when you nudge the crown, because the fine roots anchoring it have been grazed away.
Here is the trap I fell into for three weeks. A wilting succulent in damp soil reads as thirst to almost everybody, so the instinct is to water more. More water means a wetter top inch, which is exactly where the larvae are, which means more food and more of them. You can water a plant to death while trying to save it from thirst it never had. If the soil is damp and the plant is wilting, stop watering and go look at the roots. That is the whole diagnosis in one sentence.
Getting under the soil without wrecking what is left
You do not need to bare-root the plant to inspect it. You need about ninety seconds of patience.
My kit is unglamorous: a shallow tray, a chopstick, a bowl of room-temperature water, a mist bottle, and an old soft paintbrush that used to be for watercolor.
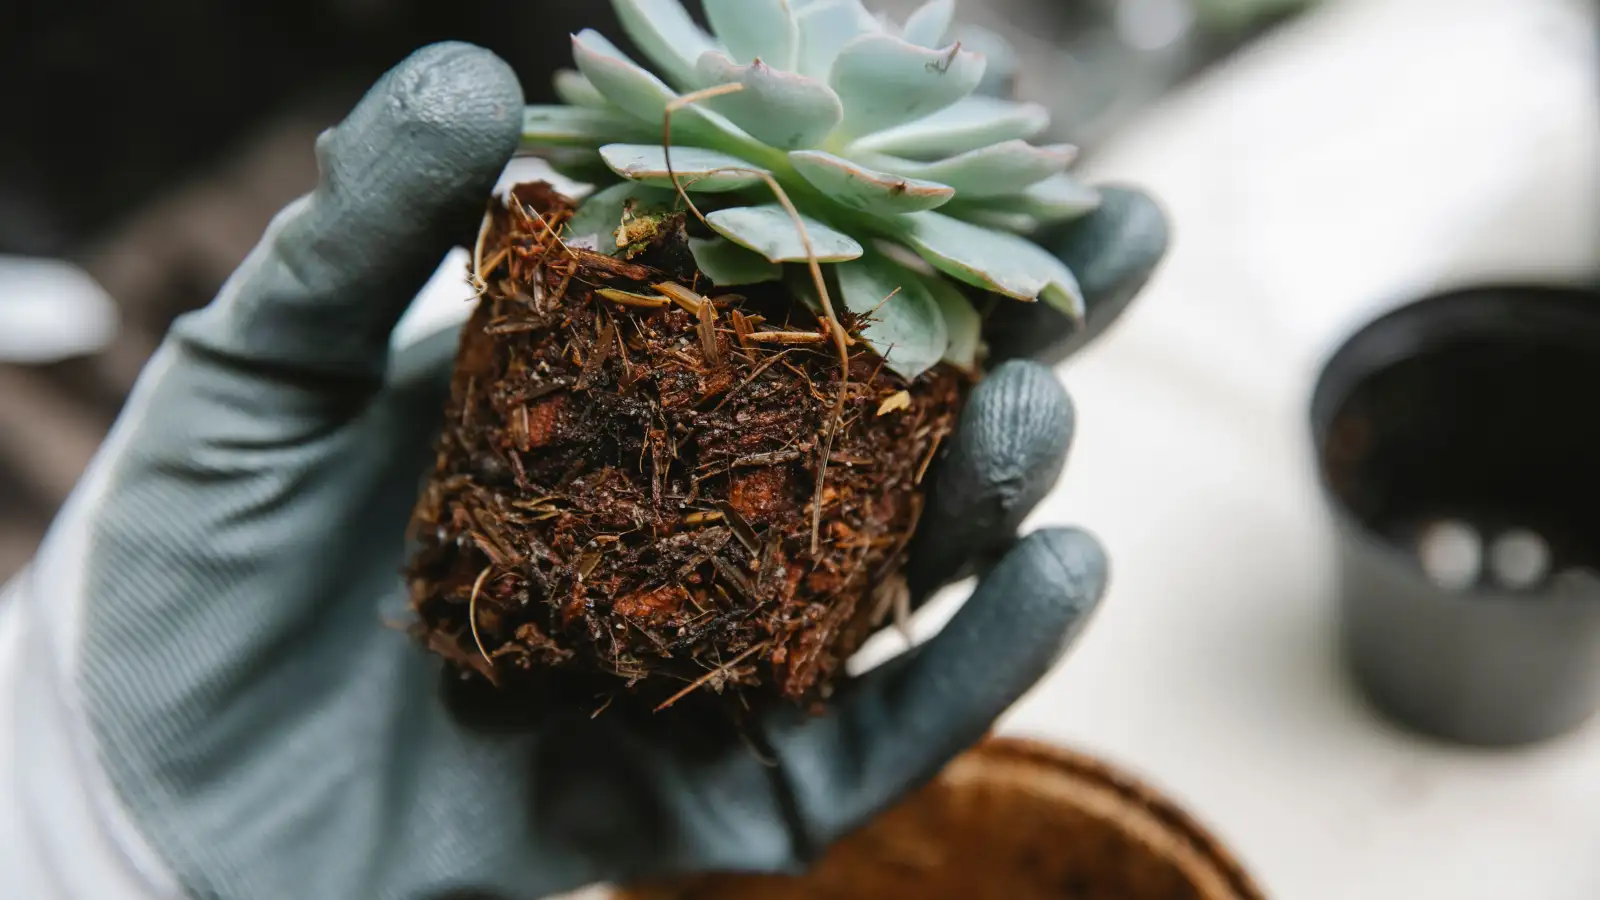
Turn the pot on its side and support the plant as it slides out. Never pull on the crown. Once it is free, do not shake hard. A gentle jiggle drops the loose mix; anything still clinging gets brushed away with the paintbrush, dry. If the roots start to dry out during the inspection, mist them. Succulent roots are brittle and they snap clean, which is convenient for cutting and terrible for doing by accident.
What I am looking for on a root system: pale, firm roots with a fuzz of fine feeder hairs. What larval feeding leaves behind is different. The fine hairs are gone first, sheared off close to the thicker root, so the root looks pruned or grazed rather than decayed. The tips of young roots come back nicked, sometimes hollowed a little, and there are small brown feeding scars along the surface. But the root itself is still pale and it still snaps when you bend it. That distinction is the whole reason to look instead of guess.
Larvae damage versus fungal rot: the four checks
Color. Larval damage leaves roots cream to pale tan. Rot goes brown, then black, and often looks wet through.
Firmness. A root chewed by larvae is shortened but solid. A rotted root is soft, and when you pull it, the outer sheath slides off the central core and leaves a thin string behind. That string is the giveaway.
Smell. I trust my nose here more than my eyes. Larvae-damaged roots smell like nothing, or like clean soil. Rot smells sour, yeasty, or like a mushroom that has gone over. Once you have smelled it in a pot, you never misread it again.
The pattern. Larval damage is concentrated at the tips and the fine roots, scattered and uneven. Rot tends to move from the crown down, or from one soggy pocket outward.
And then the part that complicates every clean answer: these two show up together constantly. Chewed root tips are open wounds in wet soil, and rot walks right in. If you find larvae and rot in the same pot, treat it as both problems, not one.
When inspection turns into surgery
There is a point where looking turns into cutting, and it is worth knowing where that line is before you have a root ball in your hand. If the plant will not anchor at all, if the root ball collapses when you lift it, if more than half the root mass is gone, or if the crown itself is soft when you press it, you are past monitoring. Anything mushy comes off with clean scissors, back to firm tissue. The plant goes into dry, fresh, fast-draining mix and stays dry for several days while the cut ends callus. That is as far into repotting as this needs to go; the point here is that the decision comes from what you found underground, not from a calendar.
The reason this keeps happening
Here is the thing I wish someone had told me years ago, and it is the reason larvae are a symptom and not just a pest. The adults do not care about your plant. They care about the top half inch of moist soil with organic matter in it, because that is where they lay. The larvae need that same damp layer to survive. Everything about the problem is concentrated in the top inch or two of the pot, and everything you do that keeps that layer wet makes it worse.
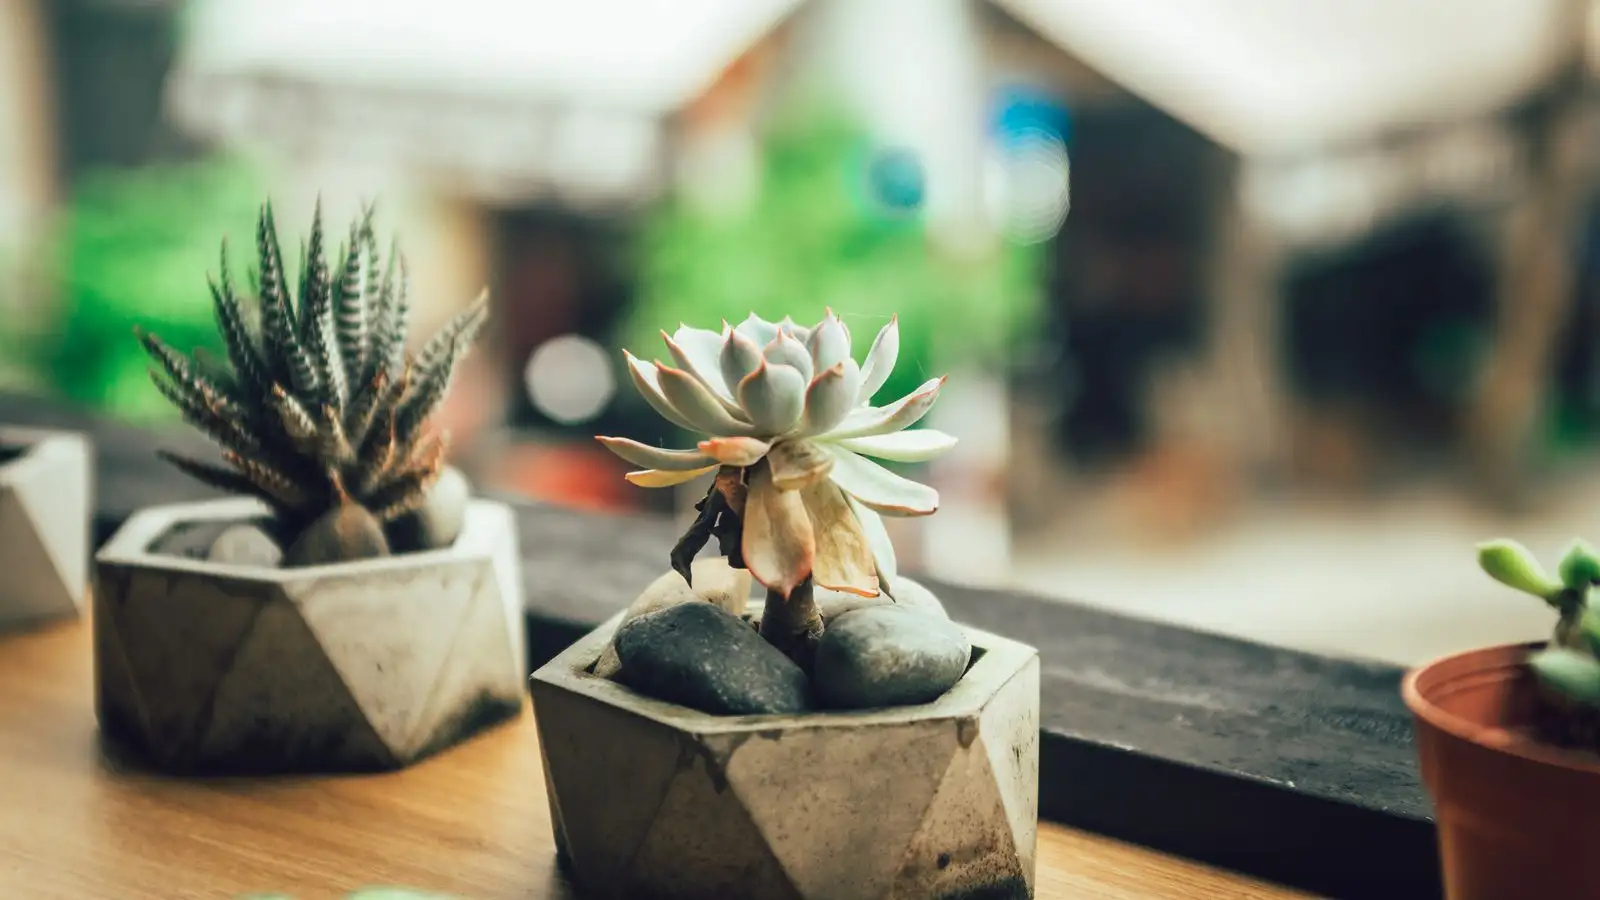
So the fix is not primarily a spray. It is a change in how the surface behaves. Let the top inch dry between waterings, which usually means watering less often and more thoroughly when you do. Bottom-watering helps, but only if the surface actually dries; in a humid room or a mix that holds moisture, the top layer stays damp anyway. A top dressing of coarse grit or small stones keeps the surface dry and gives adults nowhere to lay, which breaks the cycle at the source rather than chasing the larvae.
For the larvae already in there, a biological larvicide drench is the targeted move, and the label rate is not optional, especially on a plant that is already stressed. Read it, follow it, and do not stack treatments on the same day. Sticky traps stay in the pot as a monitor, not a cure; watching the count drop over two weeks is how you know the soil is finally drying out the way it should.
When I finally unpotted that echeveria, the roots were pale and firm the whole way down. Nicked, stripped of their fine hairs, but alive. Nothing about that plant had been thirsty. It had been eaten, slowly, in a layer of soil I never once looked at.
Educational content only: check with a qualified horticulturist, licensed pesticide applicator, or your local extension office before acting on anything specific.
Safe Fungus Gnat Treatments That Won't Harm Your Succulents
Oils and soaps burn succulent leaves. Choose soil drenches, Bti, or nematodes instead, read the full label, and know when to skip treatment entirely.
Four Steps to Eliminate Fungus Gnats from Succulent Pots
Dry the top inch, trap the adults, drench with Bti, and repeat on the gnat life cycle. A four-week schedule that treats every succulent pot at once.
Fungus Gnats Don't Cause Root Rot, But Here's What Does
Fungus gnats don't rot succulent roots. They signal the wet soil that does. How to tell larval damage from fungal rot and treat both problems in one move.
How Succulent Owners Can Keep Fungus Gnats Away for Good
Fungus gnats in succulents come from wet soil and unquarantined plants. A habit-by-habit prevention checklist built around drying the top inch.
Fungus Gnats or Fruit Flies? Identifying Flies on Succulents
Learn to tell fungus gnats from fruit flies, whiteflies, and shore flies on succulents by where they stand, how they fly, and the shape of the adult.
The Fungus Gnat Life Cycle Stage That Keeps Them Coming Back
Eggs hatch in 3 to 6 days, larvae feed for 10 to 14, pupae rest for 4 to 6. Here's the repeat schedule that ends fungus gnats in succulent pots for good.