Stop Succulent Black Spots From Returning This Time
Black spots return because the pot still holds the conditions that produced them. Killing the fungus on the leaf is the easy half. The half that actually sticks is physical: dry leaf surfaces, moving air around the crown, water delivered at the soil line instead of over the plant, tools wiped down between cuts, and a pot surface that isn't quietly shedding spores back up onto the leaves. If the spots already came back once, at least one of those slipped. Usually it's two, and the second one is airflow.
Read the leaf before you change anything
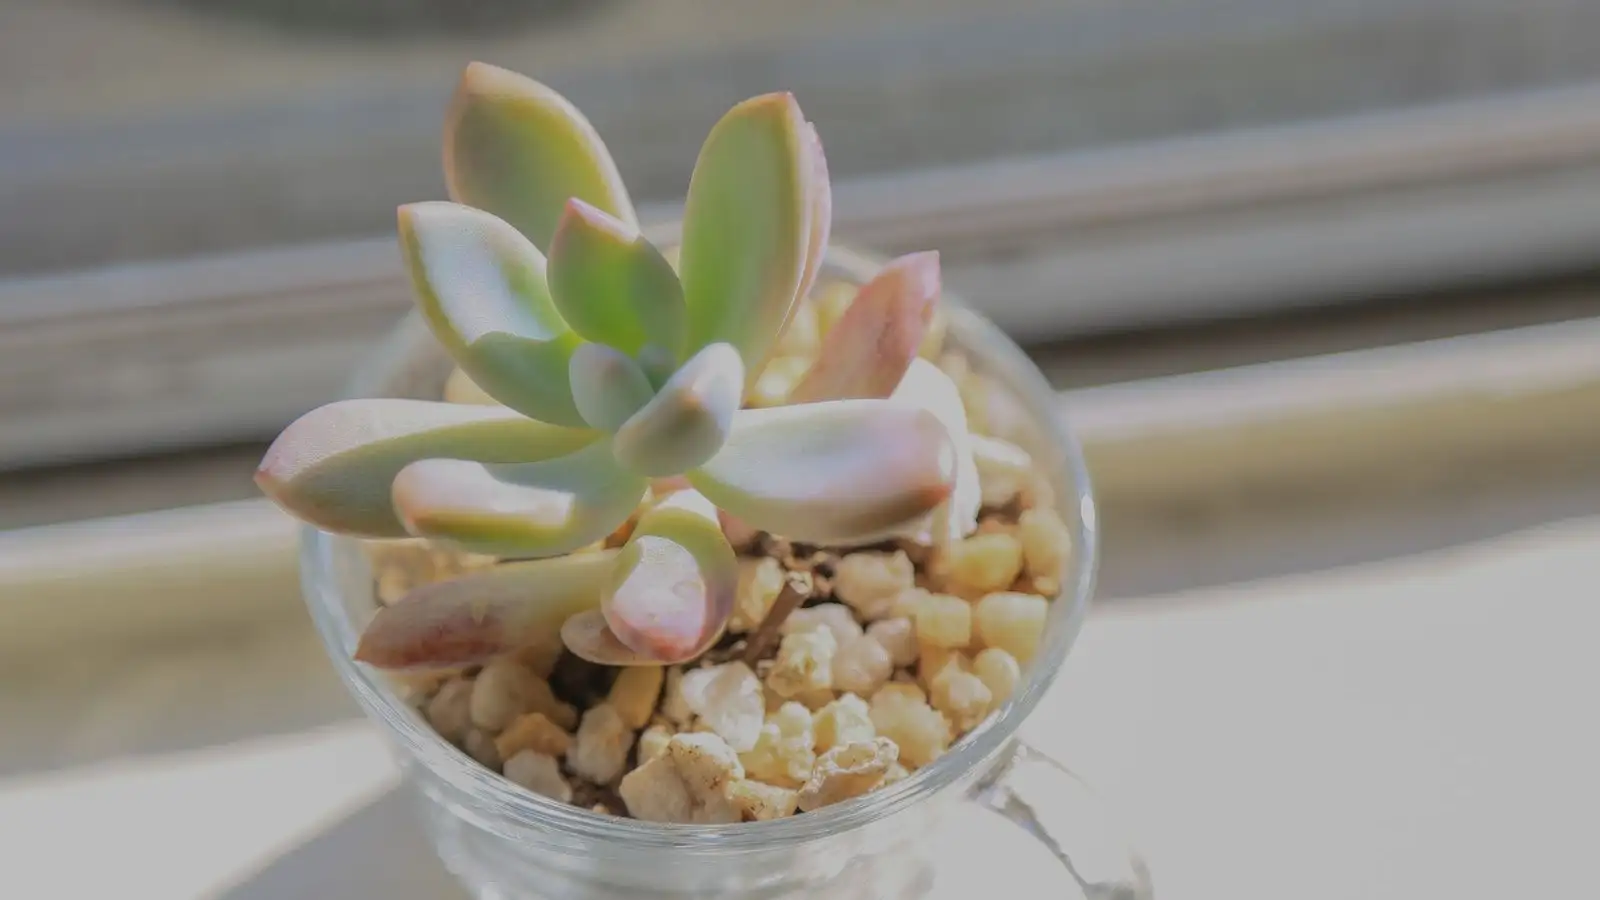
I keep a small flashlight by the kitchen window for one reason: raking light across a leaf at a low angle shows relief. Flat black scarring that's dry and papery is old damage — the tissue already lost. Raised, slightly greasy spots are active and worth acting on now. Soft, sunken, or mushy black at the base where a leaf meets the stem is a different problem entirely, and none of what follows applies the same way.
Not every black mark is fungal leaf spot, and that distinction decides your whole plan. Wet a cotton swab and rub one patch. If it lifts off and leaves green tissue underneath, that's sooty mold sitting on top of honeydew — which means pests, which means airflow and watering changes won't touch it. If it stays put and the black is in the leaf, you're dealing with a fungus.
Once a week, same day each time, I do a slow pass. Tilt the pot toward the window and start with the undersides of the lowest leaves, because those sit closest to the soil surface where spores splash up. Then the stem joints, where a leaf meets the stem. Then the point where the crown meets the soil. Five minutes. A spot caught at pinhead size is a swab of 70% isopropyl dabbed right on the mark. A spot caught at dime size is a cutting job.
One caveat on that swab: alcohol strips the powdery farina off a succulent leaf, and that bloom doesn't grow back. Keep the swab on the spot itself, not the whole leaf, and accept the cosmetic scar.
Water goes to the soil, not the plant
Overhead watering is what puts a film of water into the crown of a tight rosette, and in a tight rosette that film can sit for a day or more. That's the window the fungus needs. I use a narrow-spout squeeze bottle and go around the rim of the pot, letting the water wick inward instead of pouring it down over the leaves. If the plant is dense, water from two or three points on the edge and stop.
The calendar is where this usually breaks. After a stretch of cool, cloudy weather or a rainy week, the soil surface stays damp far longer than it did in July. I stop watering by the calendar and start by weight — lift the pot, compare it to how it felt the day after the last watering. Heavy pot, wait. If you're not sure, wait a day and lift it again. That single habit kills more recurrence than any spray.
Related: don't mound topdressing up against the stem. A thick pile of pebbles pressed around the crown holds moisture at exactly the spot where spotting and rot begin. A thin scatter is fine. A mound is not.
Still air is the part people skip
Fungal spores need a film of water and they need it to stay. Moving air is what removes the film. A small oscillating clip fan on the lowest setting, positioned so air moves past the plant rather than into it, does most of the work. I run mine a few hours a day and longer on watering day. A direct constant blast is a mistake — it dries and stresses leaves, which invites a different set of problems.
Then look at spacing. If two rosettes are touching, the gap between them never dries, and fallen leaves collect in there and stay damp. Crowding in a pot does the same thing from the other direction. Thinning the pot or splitting the clump is the fix, and it's a permanent one rather than a maintenance habit.
Clear the debris instead of burying it
Infected leaves that drop onto the soil surface keep releasing spores right under the plant. Pick them out with tweezers as you see them. Don't stir them into the soil, don't leave them wedged between the pot wall and the stem, and don't propagate from a leaf that had a spot on it. If you're reusing the soil, understand that spores and old pest residue survive in it — fresh mix for a pot that already failed is cheap insurance.
Quarantine and the alcohol cup
Anything new goes on a separate shelf for at least two to three weeks. Before it joins the rest, inspect the undersides of the leaves and the stem joints, not the top of the plant — that's where a problem announces itself last. One tradeoff worth naming: the quarantine spot still needs real light. Tucking a new plant into a dim corner trades black spots for a stretched, etiolated rosette.
On tools, I keep 70% isopropyl in a small jar deep enough to cover the blades of my pruners. Dip, let it sit wet for a few seconds, then wipe. The wet contact time is the part doing the work; a quick swipe on a dry rag isn't the same thing. Wipe between plants, not just between sessions, and treat pots the same way — scrub them and get alcohol around the rim, which is where spores sit and then splash onto leaves. Cheap plastic handles don't love alcohol, so keep it on the metal.
A pest check is part of a spot check
If the first round of black was sooty mold, the cause was pests, and the prevention is a recurring pest check rather than airflow alone. Mealybugs hide in the crown and in the leaf axils, and their honeydew is the food source. Probe those same places once a week with a toothpick while you're already looking for spots. One or two is a swab job. A full shelf infestation is a different project.
The short version
- Water at the soil line, never over the crown.
- Air moving past the plant, not into it.
- New plants quarantined two to three weeks, inspected underneath.
- Alcohol on blades and pot rims between uses, wet contact, not a dry wipe.
- Fallen leaves out of the pot, not into the soil.
- Thin crowded pots so gaps can dry.
- Weekly look at undersides and stem joints.
- Push the next watering when weather turns cool and cloudy.
- Keep checking for pests if honeydew started it.
The difference between the first round and the second round isn't a stronger product. It's that a physical habit slipped, and the fungus found the same opening twice. And this list assumes the spots were fungal in the tissue. If what you're seeing is bacterial, or rot climbing the stem, the short version above is the wrong list and you need to be cutting, not adjusting a fan.
Educational content only: check with a qualified horticulturist, licensed pesticide applicator, or your local extension office before acting on anything specific.
Succulent Black Spots: What Cause Fits Your Plant?
Black spots on succulents can be fungal leaf spot, pest honeydew, sunburn, or rot. A texture-first check tells you which one, and what to do next.
Black Spots on Succulents: Scars or Something Worse?
Dry, firm black spots on succulents are usually healed scar tissue from sunburn, hail, or edema. Learn the three checks that separate a scar from rot or fungus.
Black Spots on Stems: Cut Rot Before You Lose the Plant
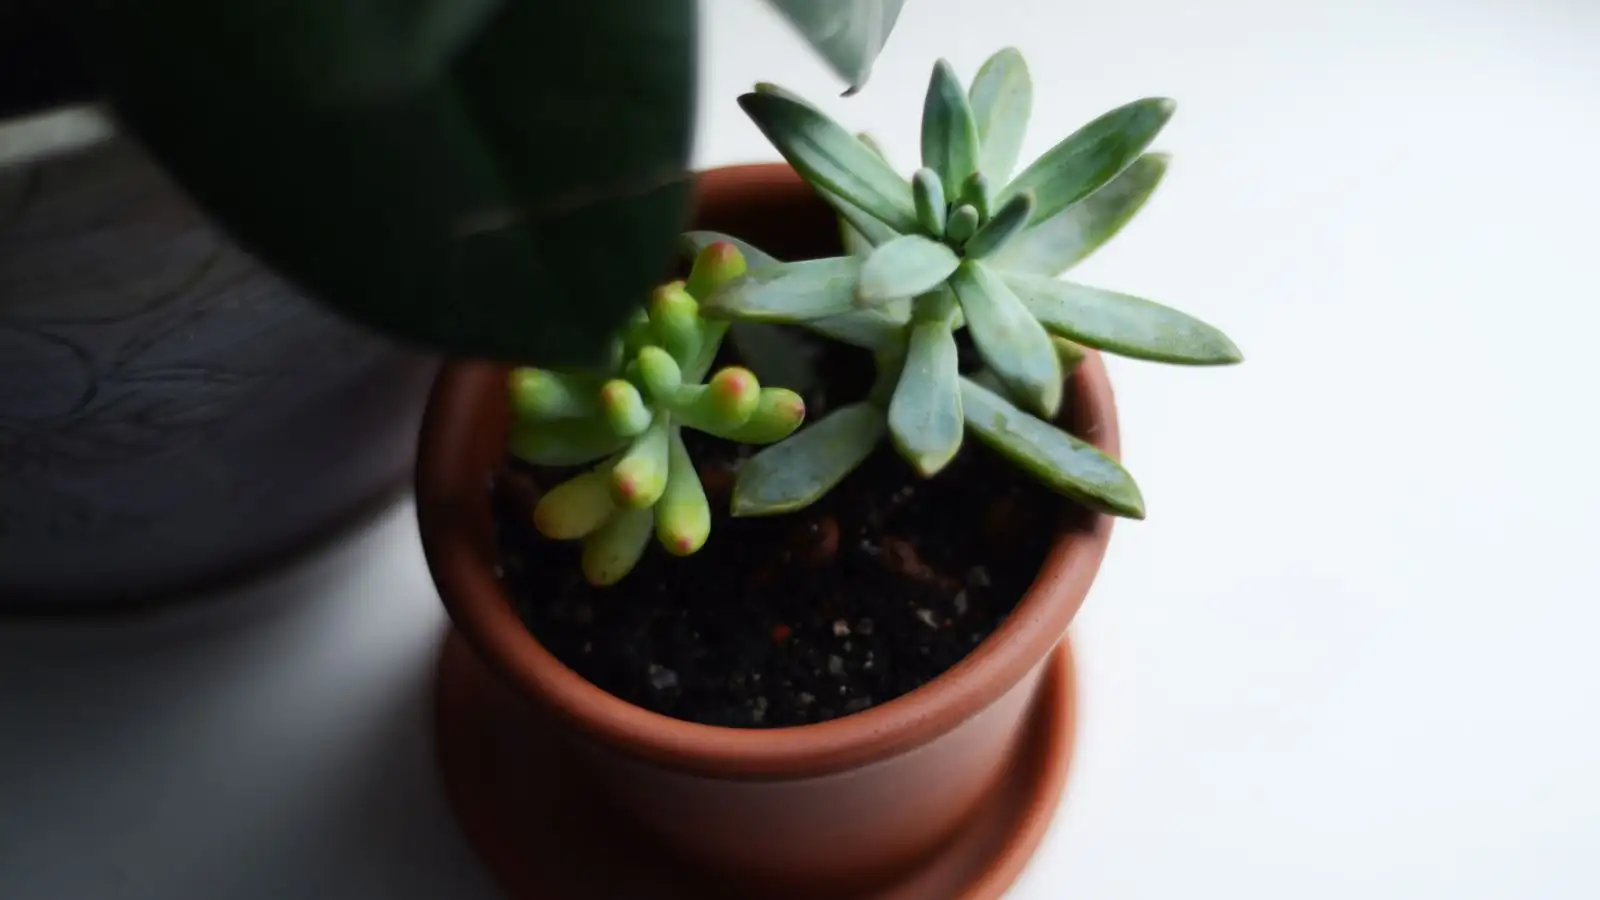
How to tell rot from harmless woody callus on a succulent stem, when to cut into clean tissue, and how to dry the cut end so the plant survives.
Sticky Black Spots on Succulents Are Not the Real Problem
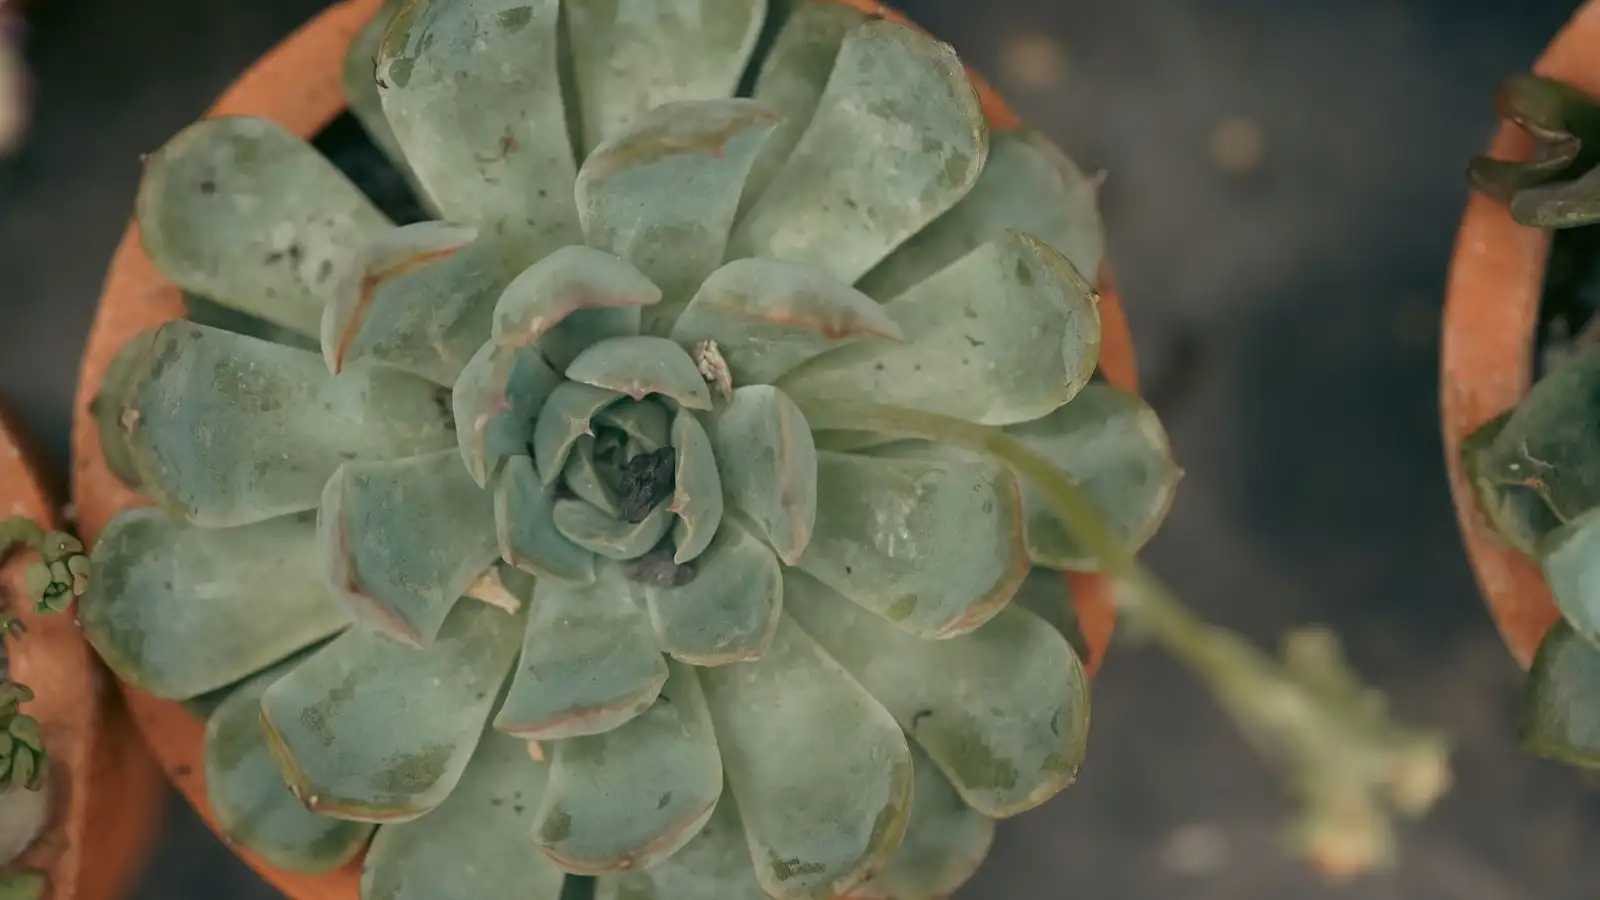
Sticky black spots on succulents are honeydew and sooty mold, not the real problem. Find the scale, mealybugs, or aphids first, then clean the leaf.
Fungal Black Spots on Succulents: What Waiting Costs You
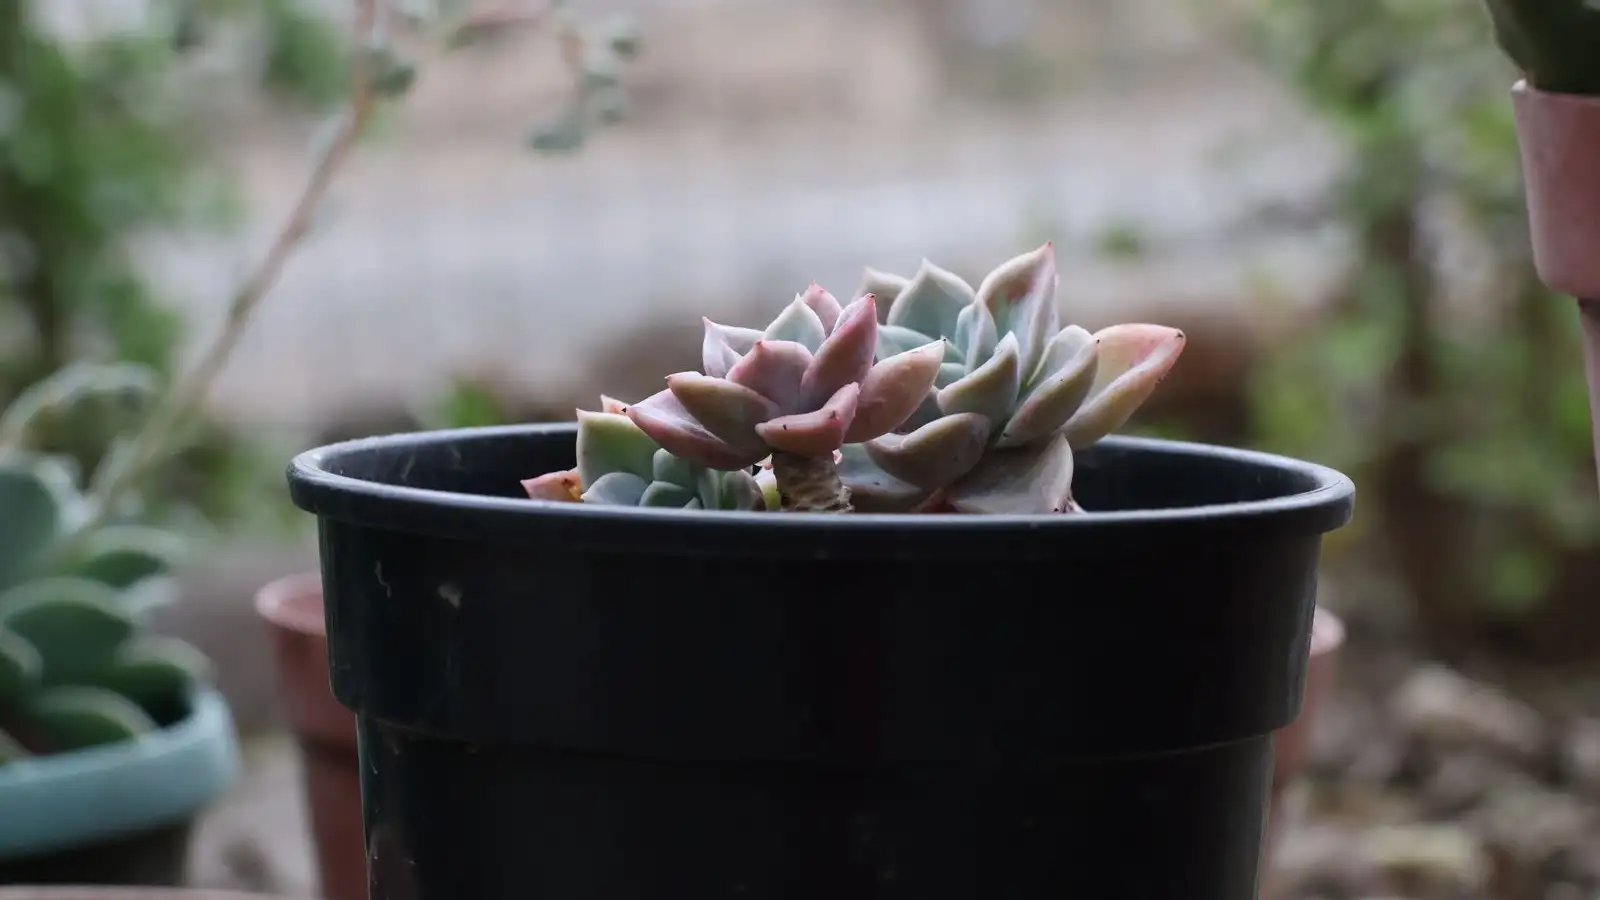
Fungal black spot is an active infection. Learn how to confirm it's spreading, fix airflow and watering, and use sulfur or copper safely at label rates.
Treat Succulent Black Spots Without Burning the Leaves
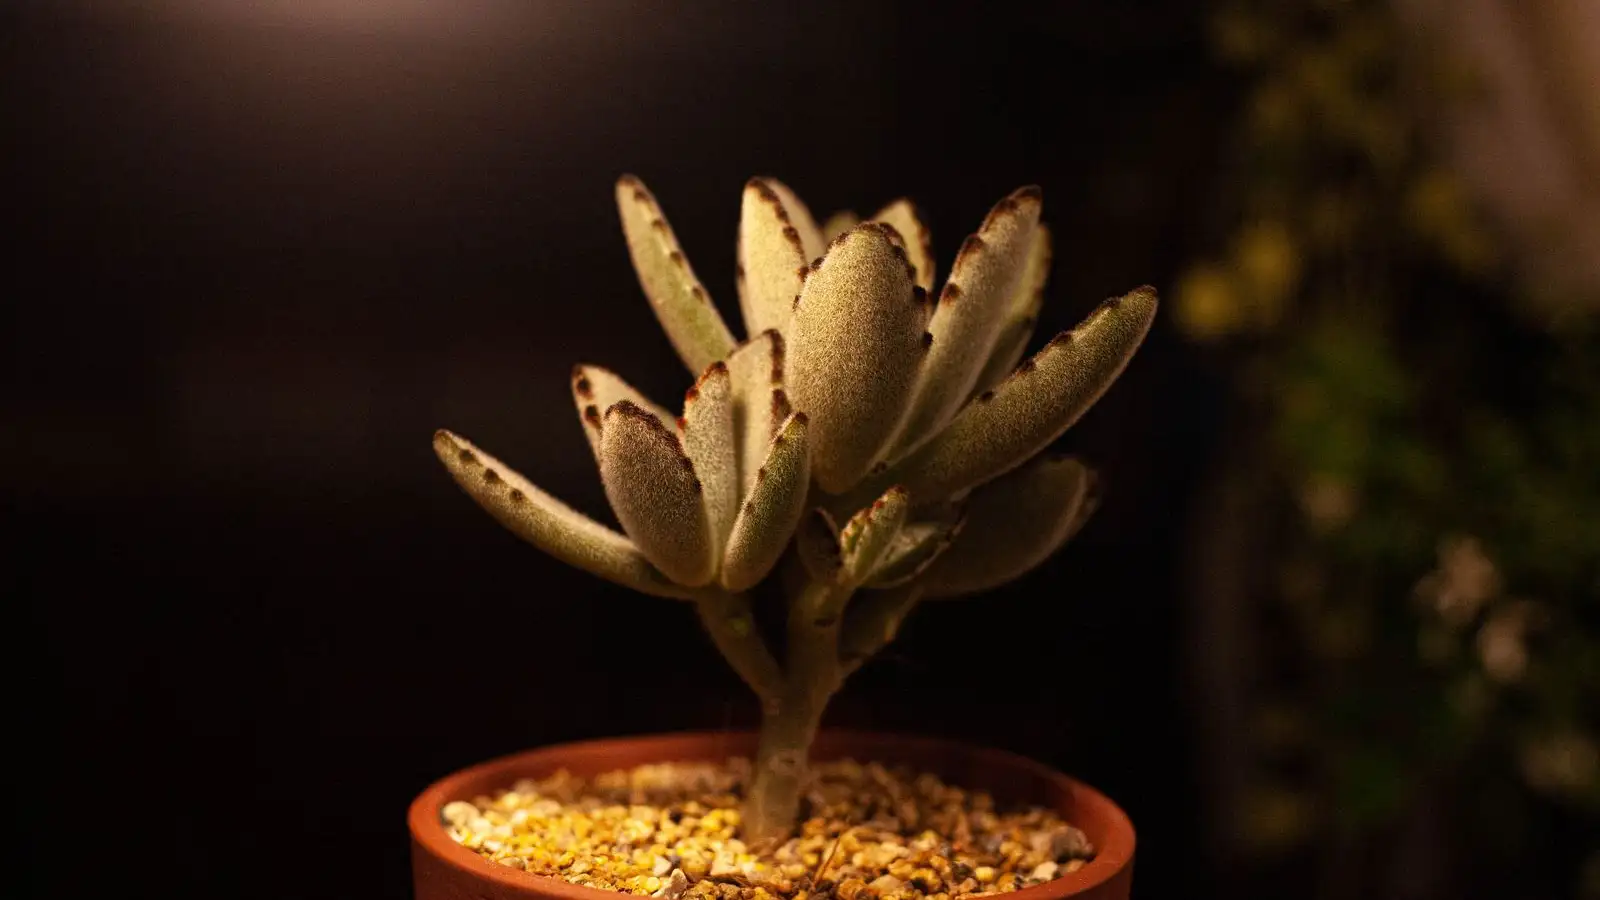
Pick the right treatment for succulent black spots without scorching leaves: alcohol, soap, neem, sulfur, or copper — plus testing, timing, and label rules.